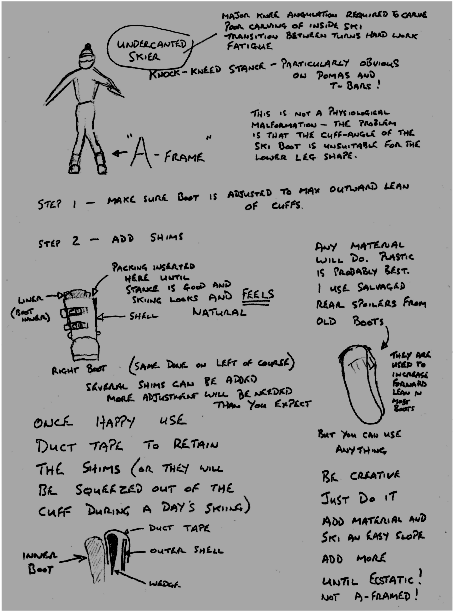
How to Stuff Your Boots and Achieve Alignment
Alongside is the sketch that I made several years ago -
There has not been any need for me to change this basic advice.
If you are under-
I can testify that the rewards will far outweigh the small amount of time and effort involved.
It may reassure you to hear that this is not a unique insight that I have gained through Yogic meditation in my lonely attic bedsit. We are seeking alignment here not enlightenment. All this is firmly in the domain of the real and the observable.
Lange race boots used to come with small stick-
Needless to say, this conversation took place as we drank weiss beer in a bar below the Hintertux glacier long after all the junior racers were asleep in bed…
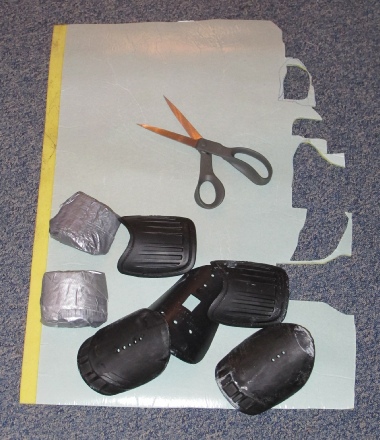
The photos below should make it clear just how simple this process is:
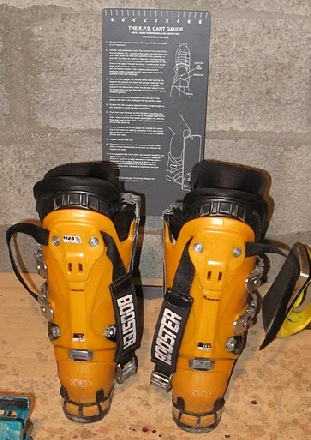
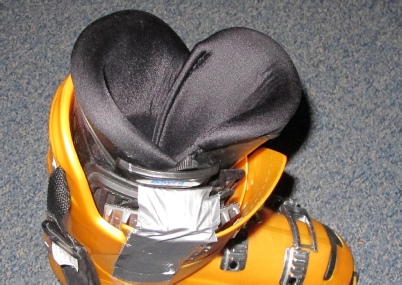
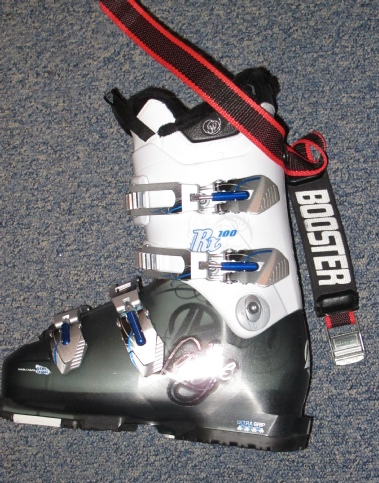
This is one of my own boots. A total thickness of 3 cm of material has been attached to the inside cuff using duct-
The fit of the boot appears to have been compromised, but in fact it remained comfortable despite the gross changes around the top of the cuff. The way the buckles fasten gives a surprising tolerance to these modifications. And the Booster Straps which I always use enhance the fit greatly.

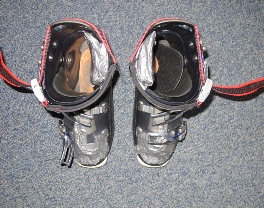
The boot in these two photos has been modified by the addition addition of wedges made from carpet material covered in duct-
The next series of photos shows how a new Lange Women’s boot -
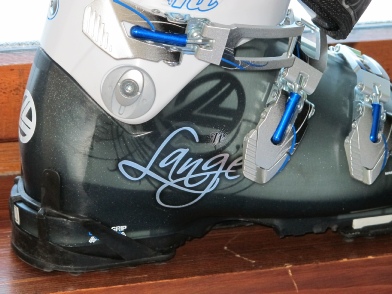
First the adjustable cuff hinges were moved to the position that gives maximum outward lean. Afterwards the KPS Gauge was used to estimate how much material needed to be added to further increase the outward lean of the boot to match the owner’s legs.
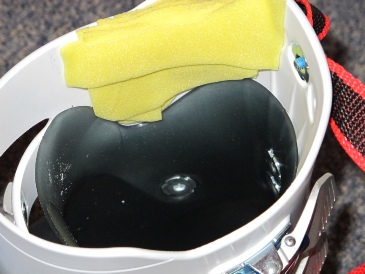
Layers of material were added to re-
After testing on snow more layers were added until the skier was happy with the result. During the process the cuff clips had to be moved out by one hole so that the boots could still be comfortably fastened around the skiers calf and the additional material.
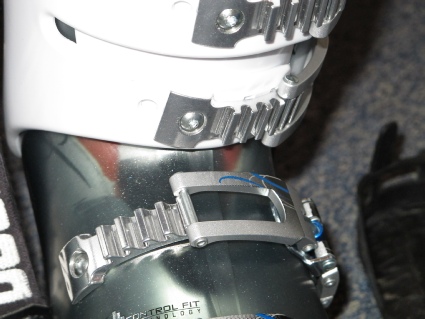
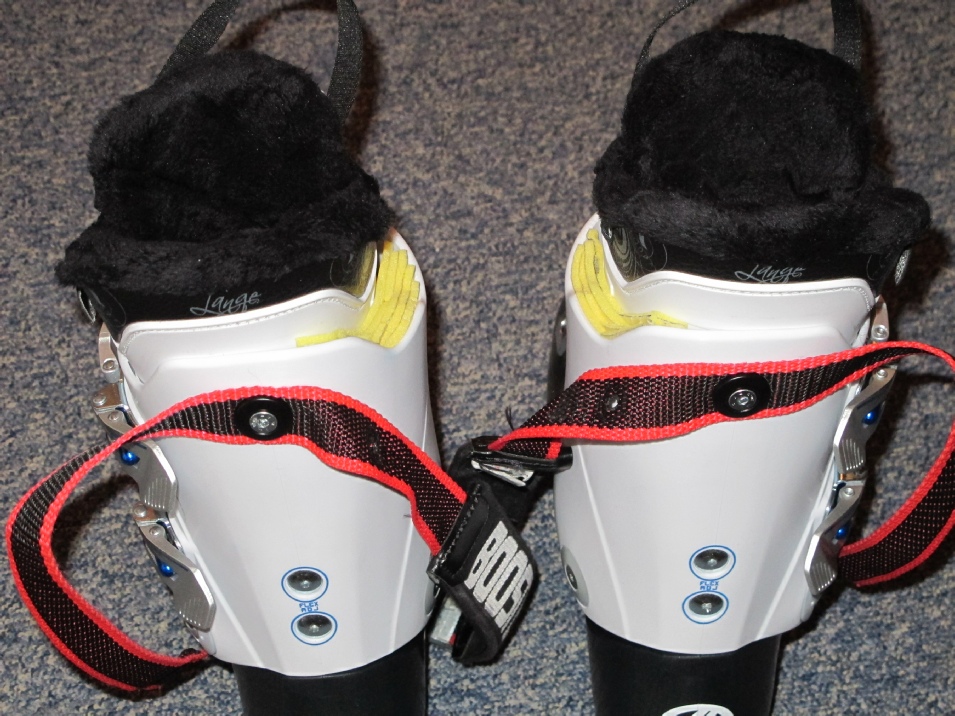
The result looks neat and tidy in this case because of the material used. But aesthetics don’t really matter. All that matters is that the lean of the boot cuff is correctly aligned with the skiers leg so that the knees sit vertically above the centre of the flat ski. We are aiming for KPS.
Using these methods everything can be undone if you get it wrong or if this doesn’t work for you for some reason. You may as well try it.

You really don’t need a lot of kit or much skill to do this for yourself. All you need is the will to try it and sufficient determination to see it through. Just do it. See how it feels. Refine it. And enjoy it!
By Peter White
Just a couple more things to bear in mind. Note how much adjustment has been made to the Orange Salomon boots. Almost 3 cm of packing was added, which is a huge modification. So don’t be afraid to make big changes.
On the other hand if you are a ski-
Whatever your level explore the other pages on the website. There is a lot of repetition, but this is in the spirit of a ski instructor trying to get the a point across by explaining it in several different ways to get the whole class on board. Happy skiing.